Cutting the Cord Server Guide – Part Four: Deluge of Torrents
We now have a server that can download media via newsgroups so now we can finally setup to the server to find the media we want right? Not quite. We now want to set up a backup to your newsgroup using torrents.
Why on Earth would I want to use torrents when you just told me about newsgroups?
To put it simply, as a back up plan. There will come a time where the newsgroups just don’t have what your looking for and its now time to rely on torrents. Perhaps you’re looking for that old classic movie you fondly remember as a child. Unfortunately your newsgroup only retains files for about 10 years so lets give your server somewhere else to look when it can’t seem to find what you want on the newsgroup.
DISCLAIMER: As mentioned in the last chapter, torrents are not secure as they are a peer-to-peer connection. This means that anyone who you download from or seed to across this connection can see your IP address which can be traced back to your provider. I suggest running your server with a VPN (which you can get through Newshosting) when using any peer-to-peer connection. A VPN is basically another computer between your computer and the internet. This means that those you download from and seed to see the VPN computer’s IP address and not yours. If you are not comfortable with VPNs or using torrents you can skip to the next section.
Install 7-zip
Even if you have another unzip program you prefer or that is installed on your computer, download the most current version of 7-zip from their website located here. 7-zip is free and interfaces with the bittorrent client we will be installing next.
Installing Deluge
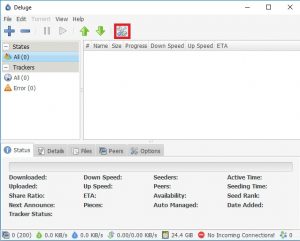
Deluge is the bittorrent client we will be using for our server. It’s lightweight, ad-free, and has a web interface. Download the most current version from their website located at www.deluge-torrent.org. Once downloaded, run the installer and just accept all the default options.Make sure you allow it to create a desktop icon. Once installed open up the program. Like every other program on our server we need to adjust some settings so click on the wrench and screwdriver icon to open the Preferences window.
 In the window that opens, under the drop down next to Download to, select Other… In the ensuing window, navigate to your root folder and click Create Folder and name this folder Torrents. Select the new folder and click Open. Check the box next to Auto add .torrents from and select the torrents folder you just created in the drop down. You may have to click Other… and navigate to the new folder. Once completed, select Interface from the toolbar on the left. In the interface window we need to check both Minimize to tray on close and Start in tray. Once complete go to the Queue menu on the left. The settings I recommend are as follows, if you are familiar with torrents, feel free to adjust these as you feel comfortable.
- Total active: 100
- Total active downloading: 10
- Total active seeding: 100
- Stop seeding when share ratio reaches: checked and set to 1.00
- Remove torrent when share ratio is reached: checked
Next go to the Plugins menu and check the boxes for Extractor, Label, and WebUi. Now go to the new Extractor menu. Deluge will use the 7-zip program we downloaded earlier to extract zip and rar files. If you don’t see an Extractor menu on the left, make sure you have 7-zip installed. In this menu change the Extract to folder to the Complete folder that was created in the SABnzbd blog post. Finally, go to the WebUi section. Check the box for Enable web interface and change the Listening port to 38081. Once complete, click OK.
Next we need to add some labels so our future programs know what to do with the files. On the left of the screen, you should see Labels. Right click on this and then select Add Label from the pop up menu. In the window that pops up enter sonarr and click OK. Repeat this step only enter radarr this time. Now go to File -> Quit (Do not click the X in the upper right as that will just send the program to the background).
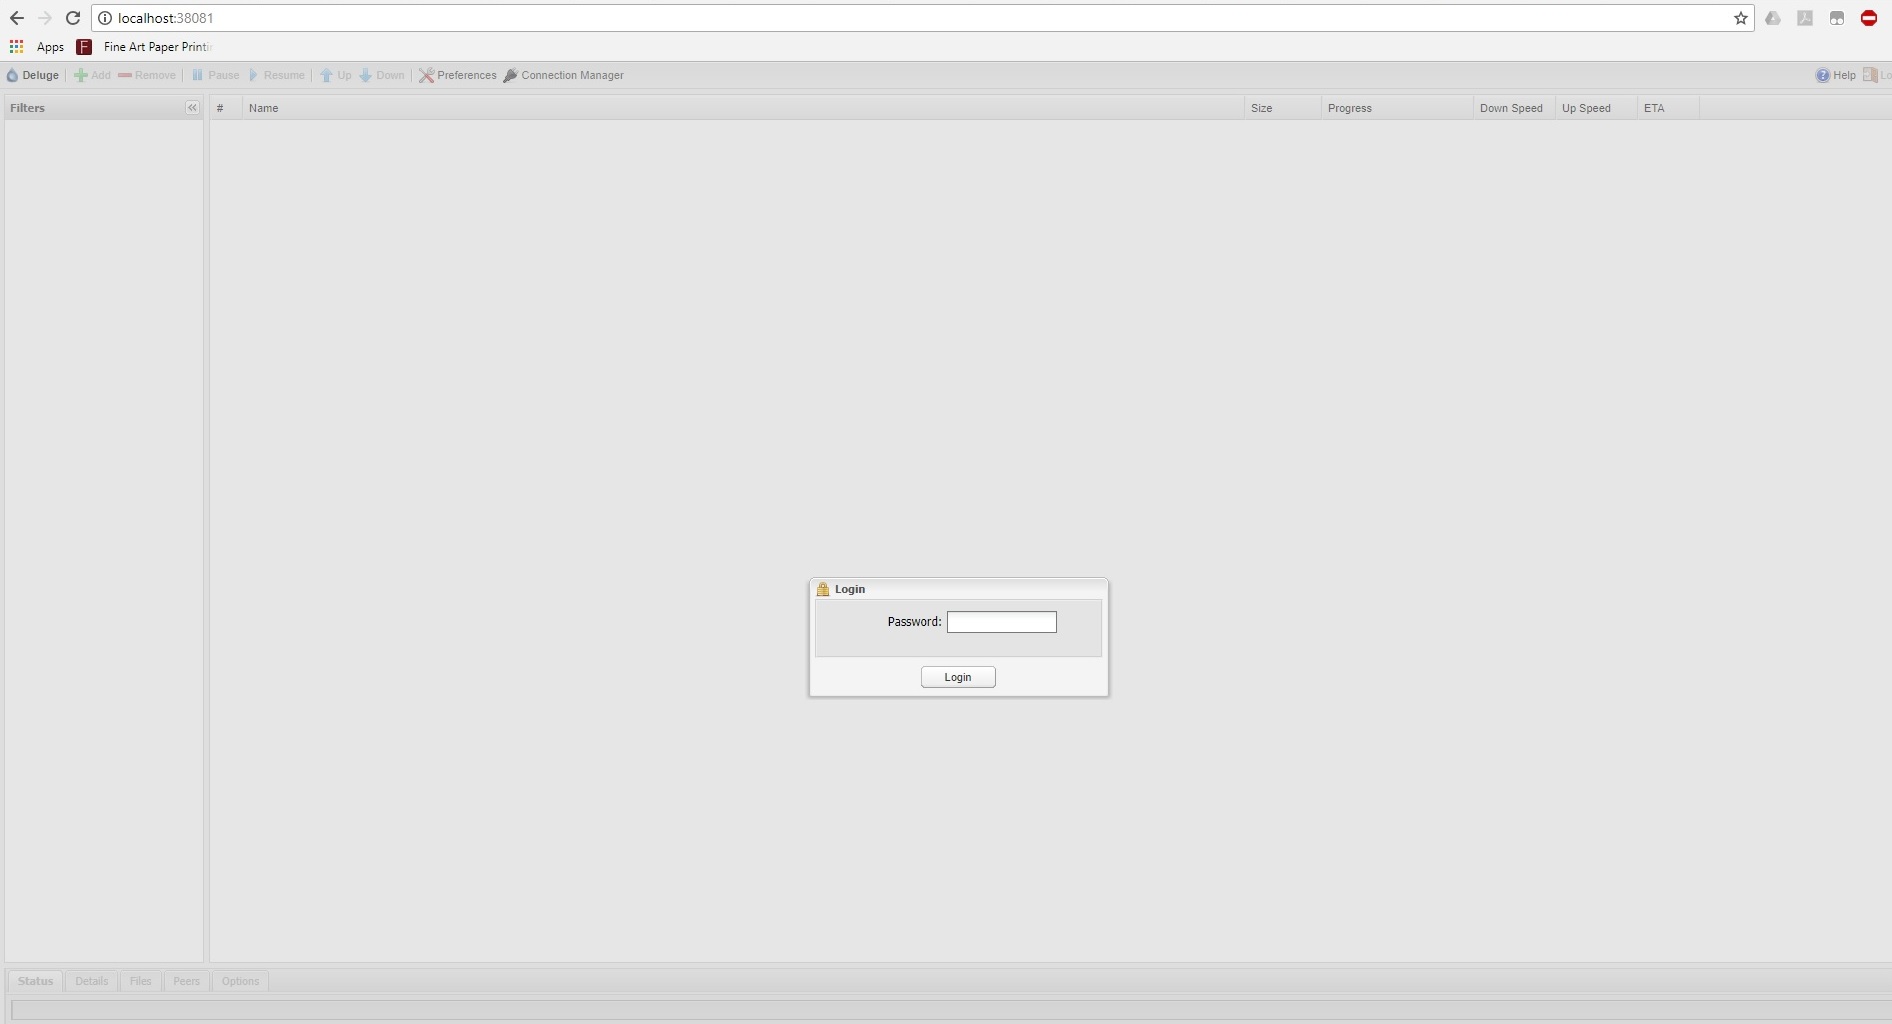
Right click on the desktop icon for Deluge and select Properties. In the target box add a “d” to the end of the file name so it goes from …\deluge.exe to …\deluged.exe. Click OK and accept any prompt from Windows. Now double click on the desktop icon and accept any Windows prompts that come up. You probably won’t see your computer do anything and that is ok. Open a browser window and in the address bar go to http://localhost:38081. You should now see a deluge screen that is asking for a password. Enter deluge as the password. It will now prompt you to change the password. Do so, making sure to click Change when you are done. Do not worry if none of the other preferences we set show up as that is just a display bug.
 We have one final step we need to take. We need to make deluge start when Windows starts. In order to do this hit Windows + R. Copy or type the following and click OK
explorer %appdata%\Microsoft\Windows\Start Menu\Programs\Startup
Cut your deluge desktop icon and paste it into this folder that just opened. Then close the folder. We are now finished installing and setting up Deluge. In our next installment, we will talk about setting up Sonarr so you can find all those TV shows you want to watch.
Prev: Server Guide Part Three – Newsgroups, NZBs, and SABnzbdNext: Server Guide Part Five – Setting up Sonarr