Cutting the Cord Server Guide – Part Seven: Coming in Hot, Setting up Your Radarr
Finally after six installments we finally have some usable functionality to our server. Its time to add a bit more functionality with Radarr. Radarr is to movies what Sonarr is to television shows. Radarr will constantly search out for the titles you have asked. When Radarr finds the movie you are looking for, it will download it, rename it, and organize it properly into your server.
I Definitely Want This, Where do I get it?
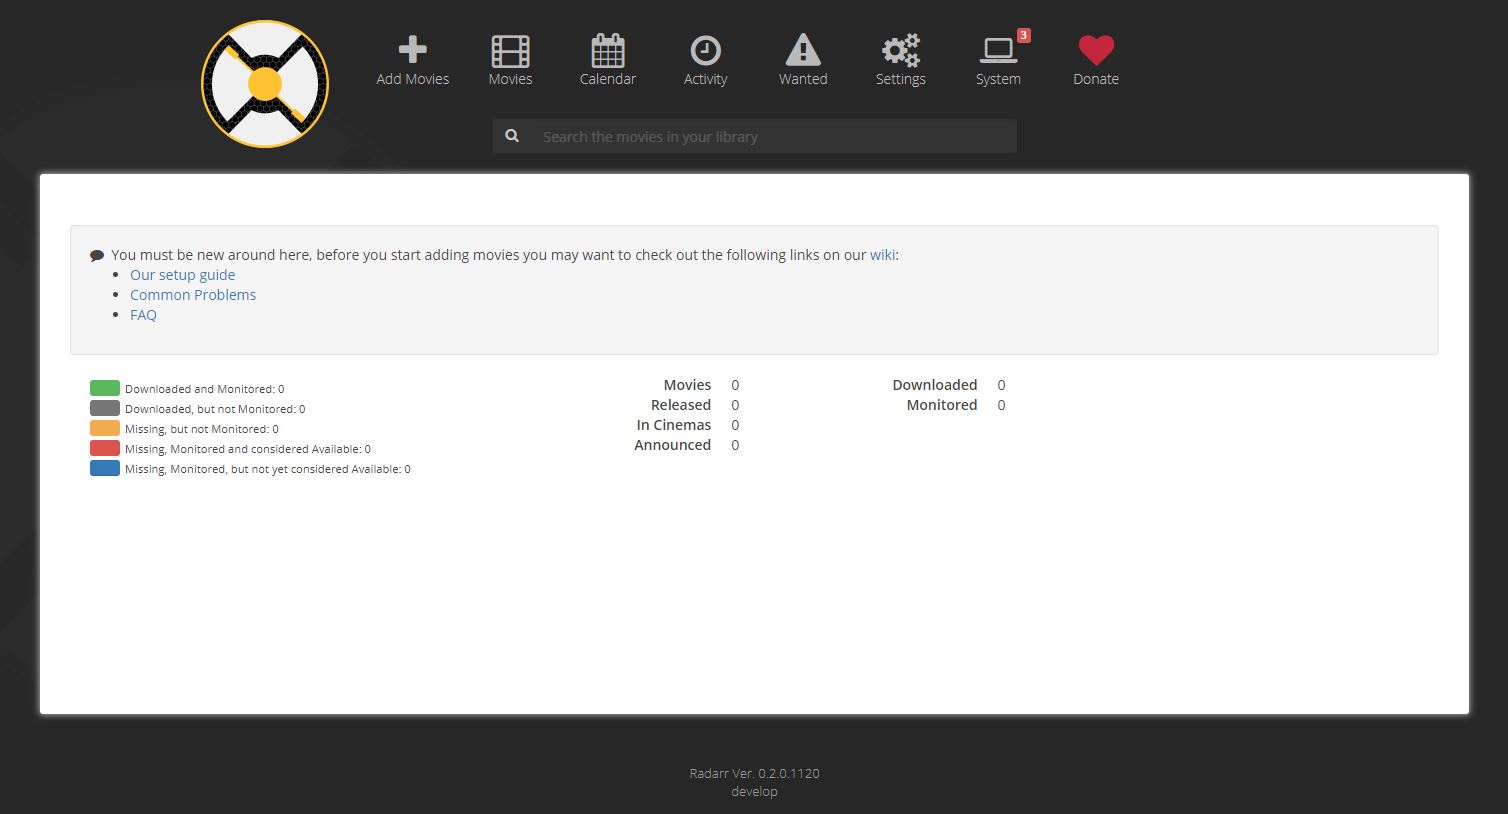
We’ll start by downloading the software from there website at https://radarr.video/#download. Download whatever the most recent pre-release build is at the time. Once the file is downloaded, open the file and let it run through the installer. Once again, make sure Install Windows Service is checked. Once the install is complete, open Radarr via the icon that should be on your desktop. You should now see a very familiar looking screen which appears below.

Radarr looks and acts a lot like Sonarr, and just like Sonarr we have a lot of changes we need to make to various settings. So lets start by hitting the Settings button at the top of the screen. Just as before, at the top of the screen we need to change Advanced Settings from hidden to shown. We then need to click on the General tab. Then make the following changes:
- Port: 38083
- Authentication: Basic (Browser popup)
- Username: [Whatever you want]
- Password: [Whatever you want]
At the bottom of this screen, Branch should already be set to develop. If its not, type develop in this field. When you’ve made the necessary changes, click the Save button at the top of the screen. We now want to click the System button at the top of the screen. Click the Updates tab and verify that you have the most recent version installed. If you do, click the Restart button found at the upper right (It will look like a round arrow). You will now need to get back to Radarr at its new port found at http://localhost:38083/. Once you log on, you should appear back at our start screen.
We now need to make all of our settings changes so click back on the Settings button at the top. Advanced Settings may have gone back to hidden so make sure it is set to Shown. As these settings are very similar to Sonarr, I’m going to move through them quickly, listing the tab and what you need to change.
Media Management
Only a few changes in this tab
- Switch Rename Movies to Yes
- Change Standard Movie Format to {Movie Title} – {Release Year} –
- Switch Ignore Deleted Movies to Yes
Profiles
The profiles work identically to how they did in Sonarr. My only recommendation is that if you want 3D movies, add a 3D profile. Click the giant plus sign. Give the Profile a name and select the qualities you want and what cutoff you want. In the Preferred Tags field, add the term 3D. Once its set up how you like click Save. Then make any other changes you wish to the profiles. Once you are done, we need to make one more change. Click the wrench at the bottom of the screen under Delay Profiles. Make sure it reads as follows if you want it to prefer newsgroups.
- Protocol: Prefer Usenet
- Usenet Delay: 0
- Torrent Delay: [Something suitably long, I use 1440]
Quality
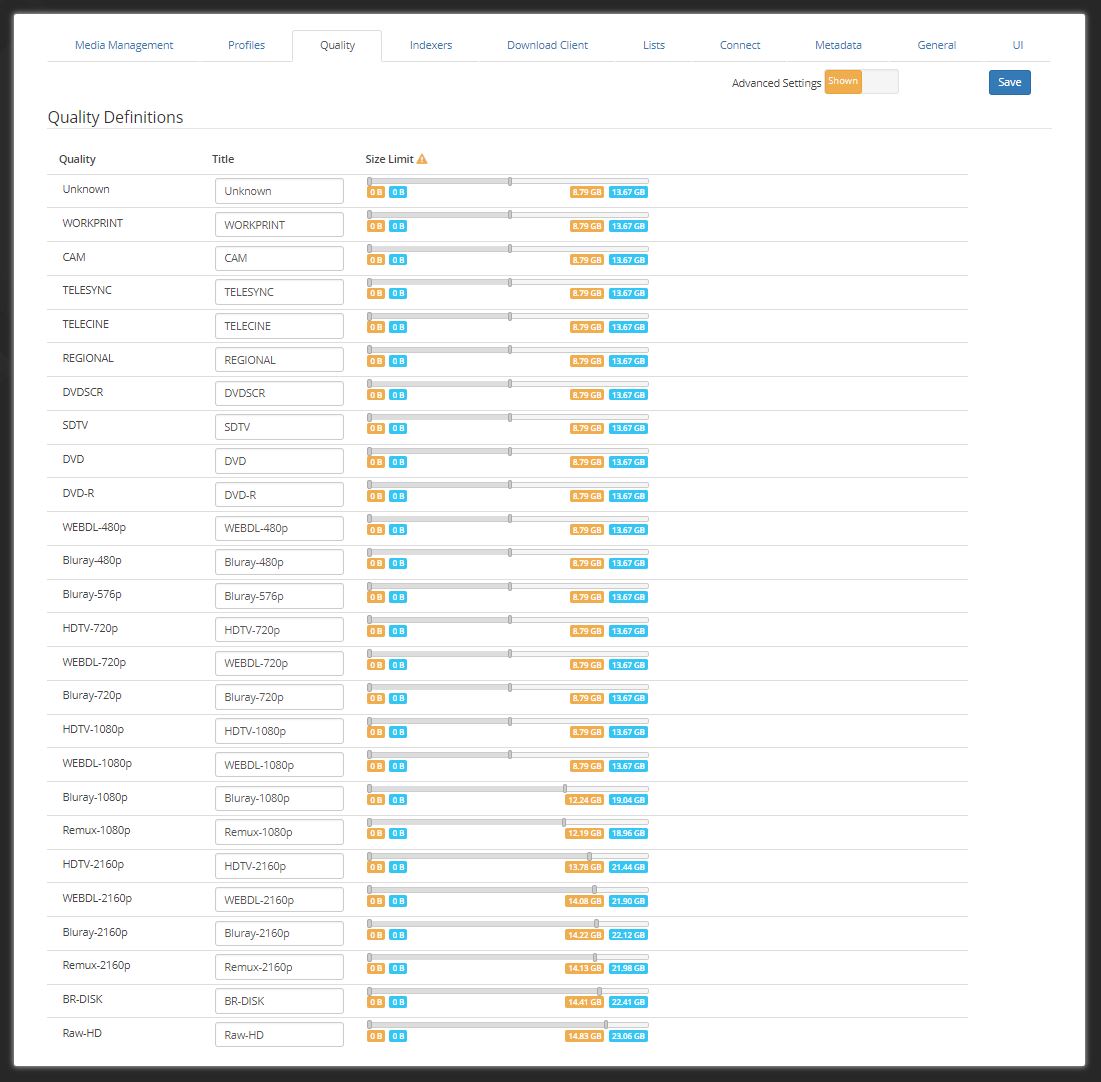
Again this tab is identical to the one used by Sonarr. Below you can find an image of what I have mine set. Remember these do not have to be exact, just in the general ballpark.

Indexers
Just as before, open your text files which contain all of your indexer information and all of you indexers here. Once you’ve added all of your indexers change the Retention value to whatever is set by your newsgroup (Newshosting is 3281). Finally, at the bottom of the screen, click the plus sign under Restrictions. Add the following line into the Must Not Contain field.
subfix,nfofix,Deleted.Scenes,DVDR.,DVDR-,EXTRAS.,xRed,ReEnc,FUNNY BiT
Download Client
Click the big plus sign and select SABnzbd and make the following changes and then click Save
- Port: 38080
- API key: Get this value from the Config > General section of SABnzbd (http://localhost:38080/config/general/)
- Username: [Whatever you set it to]
- Password: [Whatever you set it to]
- Category: radarr
If you are using torrents, click the big plus sign again and select Deluge. Then make the following changes before clicking Save.
- Port: 38081
- Password: [Whatever you set it to]
- Catagory: radarr
No other settings need to be changed so click the Save button in the upper right hand corner
Using Radarr to Find Movies
The nice thing about using Radarr is that if you are familiar with Sonarr this will be a piece of cake. To add a movie just click the big Add Movie button at the top of the screen. Type in the movie you are looking for in the field and Radarr will show you what it thinks you are looking for. Find the movie you are wanting on the list. The first time we add a movie we need to tell it where to put it. So from the Path drop down, select Add a Different Path. This time we want to enter [ROOT]\Movies where [ROOT] is the base directory you set up for storage. In my case its D:\Movies. Once you’ve selected the path, just select the profile that you want this movie to be searched for and click the plus sign to add it and have Radarr search later or the magnifying glass to add it and search now.
Now if you click the Movies button at the top, you should see the movie you just added. Clicking this movie will show you the same screen with the same buttons as Sonarr. With any luck, Radarr has found whatever you were looking for and begun to download it. The next post will be the final installment of this guide. We will be discussing adding a PLEX server to your server so that you can access your media anywhere. Until then.
Prev: Server Guide Part Six – Down Periscope, Using Your SonarrNext: Server Guide Part Eight – The Almighty PLEX